Photoshop Tutorial Reflection
For the past week and a half, I have been working on some Photoshop tutorials that have helped strengthen and expand my knowledge of Photoshop. I have learned many new things including how to built a portrait collage, how to remove logos on t-shirts, and how to build a product ad. Before these tutorials, I would have had no idea how to do any of this editing.Tutorial 1
The first tutorial started me out pretty simple. I used the marquee tool to edit out part of the background in the picture of the model in the green to smooth out the backdrop. In the photo of the man against the wall, I used the lasso tool to remove the blemishes form the wall to create a better background.


 Next, I advanced onto logo removal, in which I removed the logo from this man's surfboard
Tutorial 2
In this next tutorial, I was introduced to using the patch tool to edit out graphics on t-shirts. In the photo, the father's shirt had a graphic that the photographer was not too fond of, so I used the lasso tool and patch tool to remove the graphic

Tutorial 3

In this next tutorial, I again used the clone stamp tool to remove a tag form the model's coat. This tool draws color from another area of the coat, and then uses it to cover up where you need it to. This helped give the photo a cleaner and more finished look.
Tutorial 4
Continuing on, I got to use some tools I was not really used to using. The clone stamp tool is a pretty handy and important tool, because it lets you take a sample of color from another area like the one you are fixing, and use that to edit the area you want. I used this tool a lot in the picture below, where I edited out the building above the man's head.

Tutorial 5

In this next tutorial, I used the patch tool to help clean up the freckles and blemishes on the boy's face to make the picture a little cleaner and more precise.
Tutorial 6

In tutorial 6, I got to built a portrait collage. I started out with three individual photos and ended up with one composite. There were several steps to creating this including having to stretch the background, edit in shoulders for the center photo from another picture, and blend out the background to get rid of the trees.
Tutorial 7
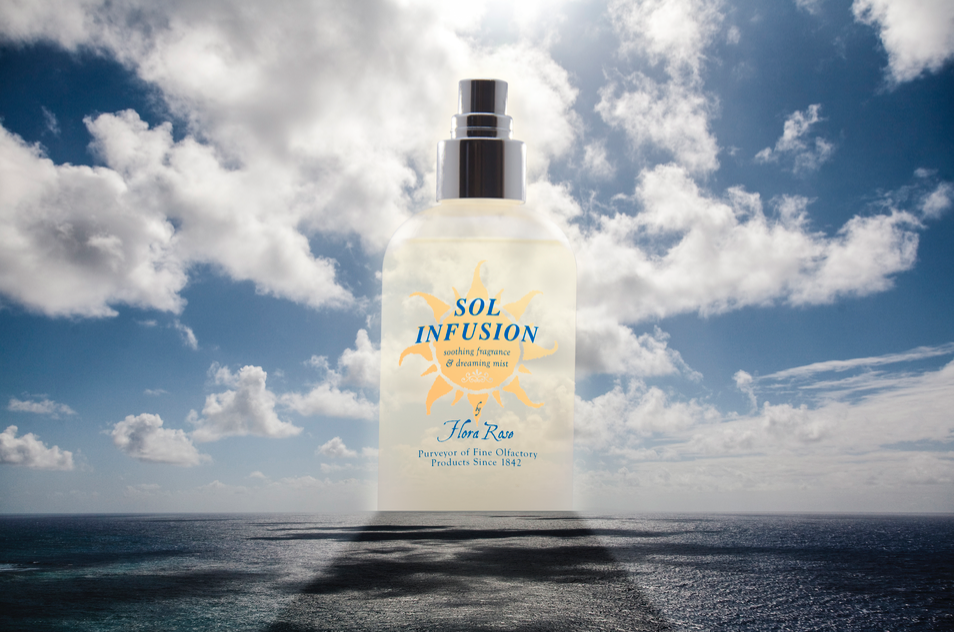
In this tutorial I got to make a product ad type photo. I started out by adding the logo onto the bottle and slightly bending it to look more natural. Then I placed it behind the horizon line, gave it a glow, and faded it to flow with the setting.
Tutorial 8

In this last tutorial, I worked with a McDonald's billboard. The actual billboard itself and the ad started out as separate pieces, but then I combined them and then scaled the ad down to fit the board. Then I rounded the edged and bend it slightly to look more realistic.
Overall
I really enjoyed doing these tutorials, they taught me a lot I did not even know before. Three important tools I learned were the clone stamp tool, the patch tool, and the quick selection tool because they are good foundation tools. These will be helpful in the future because I will be using them a lot and they will make my project look clean and neat.
My strengths were I was good at following the tutorial and I could pick the stuff up pretty easily. One thing I need to work on is organization of my layers and masks and everything because that is really important. One skill I learned was time management and how that effects meeting deadlines, because I had to work really hard to get these done.
Overall, I really enjoyed getting to know Photoshop and this was a good project to start the school year.